Finding ways to combat the unending optimism of the holiday season
For all of you who maybe just need a little break from their families waiting for Santa, let’s get the iconic DOOM running alongside your existing app.
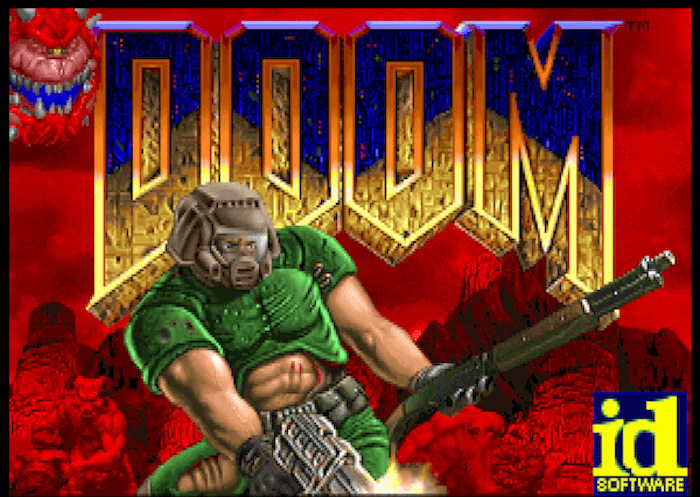
The only prerequisites you will need are Docker and Docker Compose. Using an excellent WebAssembly port of DOOM, there is a Docker image that will run DOOM in your browser.
If you would like to first try it as a stand-alone docker container:
docker run -p 8000:8000 elliottking/doom-wasm:0.1.1
This will run at http://localhost:8000. Move with the arrow keys, use e to interact, and shoot with the mouse.
Running with Docker Compose
This can be quickly slotted into any existing Compose project. As an example, I will be using a React/Flask starter repository. If you just want to see the final result, jump to the with-doom branch. I frequently use React, but there is also a Flask-only repo if you prefer to try with that.
Looking at the docker-compose.yml, this project has a few existing services relating to the frontend, backend, and database. Fortunately, we will only be embedding DOOM on the frontend, so we will not need to worry about most of those today. Let’s start by adding a new service for DOOM using the image we mentioned before:
  doom:
    image: 'elliottking/doom-wasm:0.1.1'
    ports:
      - '8000:8000'
That’s it for the service! It’s a pretty simple image. Now, when we run make develop in that repository (which just inits the db and runs docker compose up), it will spin up the doom service in addition to the other ones! You can run it with make develop and again go to http://localhost:8000.
However, our goal was to embed DOOM into an existing webpage. If you instead go to http://localhost:3000, you will arrive on the “frontend” service. To link the two, all we need is an iframe that points to our DOOM host url. Let’s just make a simple div that will show in the center of the page:
// DoomModal.js
function DoomModal(props) {
  const {classes} = props;
  return (
    <div className={classes.modal} id="doom-container">
        <iframe className={classes.iframe} scrolling="no" src="http://localhost:8000" title="DOOM WASM"></iframe>
    </div>
  )
}

export default DoomModal;
Since this project uses Material UI styles and syntax, I will set up my styling to follow the precedent. Of course, this could instead be CSS.
// App.js
const useStyles = makeStyles((theme) => ({
  ...
  },
  modal: {
    position: 'fixed',
    height: 'fit-content',
    width: 'fit-content',
    left: '50%',
    transform: 'translate(-50%, 0)',
    top: '150px',
    ['z-index']: 9,
  },
  iframe: {
    height: '625px',
    width: '840px',
  }
}));
And finally, make sure to include the DoomModal in the returned component:
// App.js
import DoomModal from './DoomModal';
...

  return (
    <ThemeProvider theme={theme}>
      <CssBaseline />
      <DoomModal classes={classes} />
      <Box>
      ...
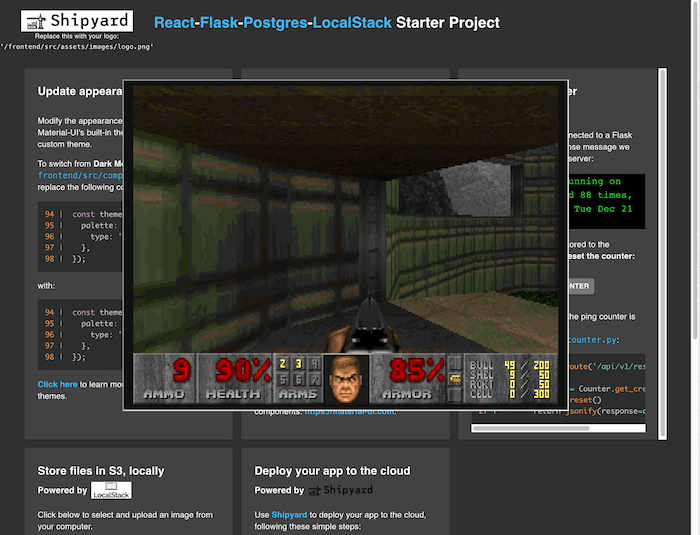
If you take a look, it will now be dead-center on the frontend. You should not even need to rebuild.
Putting on the Finishing Touches
Demonstrating that you can embed DOOM is a good first step, but it is only the first step. If I want to claim I am doing work so that I can hide from my family, I will want to put this on my production webapp so it always sticks around. I also want a button to close and open the modal if anyone is trying to snoop.
Open/Close the Modal
If you are on the Flask-only repository, this may be slightly complicated. Simply adding display: none to the iframe does not actually stop the game from playing, you will still hear sound. Feel free to check out my solution, or think up your own! There is another limitation, which I will mention at the end.
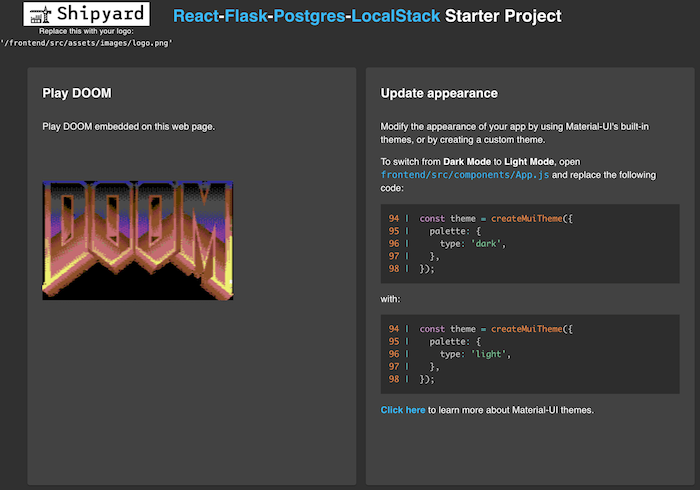
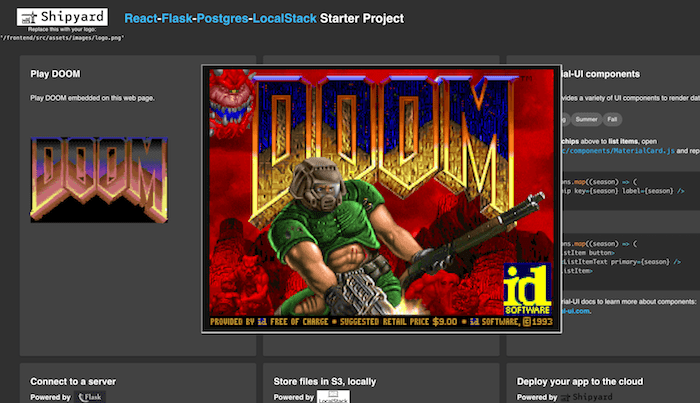
Fortunately, with React’s state handling and mounting, this is pretty simple. All we need to do is add a button that will mount and unmount the DoomModal. I followed the existing design and put this in a card, but all that really matters is the button and the handleClick. You can just make it a regular button element, or use the DOOM logo.
// DoomCard.js
import { Card } from '@material-ui/core';

import doomLogo from '../assets/images/doom.png';
function DoomCard(props) {

	const { classes, handleClick } = props;

	return (
		<Card className={classes.card}>
			<h2 className={classes.cardHeader}>Play DOOM</h2>
			<p>
				Play DOOM embedded on this web page.
			</p>
      <div className={classes.doomButtonContainer}>
        <img id="doom-button" src={doomLogo} onClick={handleClick}/>
      </div>
		</Card>
	);
}

export default DoomCard;
And putting it into the main App.js:
// App.js
// Don't forget your imports!
import { useState } from 'react';
import DoomCard from './DoomCard';
...

function App() {
  const classes = useStyles();
  const [showModal, setShowModal] = useState(false);
  ...

  return (
    <ThemeProvider theme={theme}>
      <CssBaseline />
      {showModal && <DoomModal classes={classes} />}
      <Box>
      ...
        <Grid container className={classes.container} spacing={2}>
          <Grid item xs={12} sm={12} md={6} lg={4}>
            <DoomCard classes={classes} handleClick={() => setShowModal(prev => !prev)}/>
          </Grid>
      ...
  );
}
export default App;
Hosting and Different URLs
This requires a bit of knowledge of how your application is hosted. The final url of your iframe may match the host of the overall site, or it may be different.
One of the nice things about Shipyard is that it automatically hosts each service, making it easy to interconnect them while still allowing each one to be updated on its own. However, I would like to generalize this example. I will take the DOOM url as an environment variable, allowing you to insert it once you know what it will be.
Since this application is built on Create React App, inserting environment variables is relatively easy.
NOTE: The react-flask-starter ingests environment variables at runtime If your React app ingests them at build time you may also need to add the environment variable to the Dockerfile.
For Create React App, it access environment variables that start with “REACT_APP_”. You can ingest them with process.env.REACT_APP_. So we will call our frontend variable “REACT_APP_DOOM_URL”:
// DoomModal.js
function DoomModal(props) {
  const {classes} = props;
  // Note: that we support a default value, just in case
  const doomUrl = process.env.REACT_APP_DOOM_URL || "http://localhost:8000"
  return (
    <div className={classes.modal} id="doom-container">
        <iframe className={classes.iframe} scrolling="no" src={doomUrl} title="DOOM WASM"></iframe>
    </div>
  )
}

export default DoomModal;
Then we need to pass this variable through the docker-compose.yml:
  frontend:
    build: 'frontend'
    environment:
      CI: 'true'
      DANGEROUSLY_DISABLE_HOST_CHECK: 'true'
      # Add this line
      REACT_APP_DOOM_URL: ${DOOM_URL}
    env_file:
      - frontend/frontend.env
    volumes:
      - './frontend/src:/app/src'
      - './frontend/public:/app/public'
    ports:
      - '3000:3000'
Now you can pass this environment variable as such: DOOM_URL=https://example.com docker-compose up. This allows you to dynamically insert whatever url you like as the DOOM iframe origin!
Your hosting service should allow you to add environment variables.
This is how that screen looks on Shipyard:
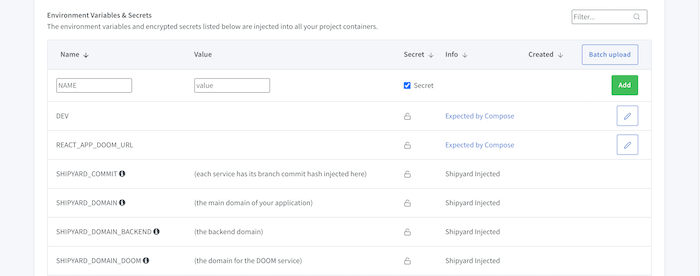
On Shipyard, we also provide environment variables for each service. In this case, we would provide a SHIPYARD_DOMAIN_DOOM that you could use instead of the above environment variable.
In fact, our example branches already have this environment variable ready to go, so you will not need to set it if using them.
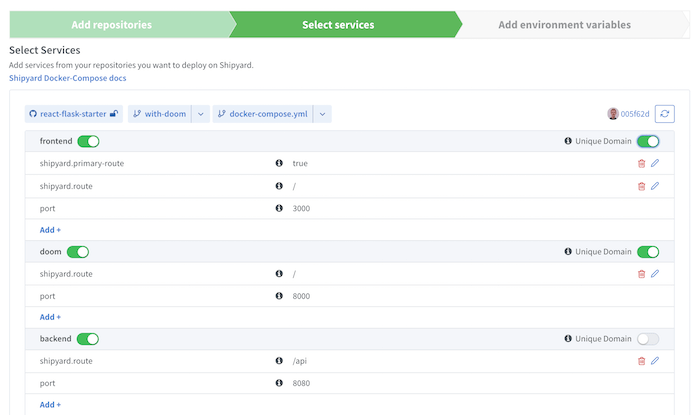
A Further Note for Shipyard: if you are creating your application on Shipyard, you can choose how to host your services. For this example, make sure that the “doom” and “frontend” services both have unique domains:
If you made it this far, stop coding and go play some DOOM!
Future Considerations for implementation
Pausable game - you may have noticed that the game is not paused when the modal is closed. Note that F1 is the pause button.
Clicking outside the modal - in addition to clicking the button, you may wish to close the modal if a user clicks outside. The React-Bootstrap library might make this easy, but it is not strictly necessary.
Come try DOOM out on Shipyard, just auth in with GitHub and get started!
